One of the girls' favorite activities during the butterfly unit was making "stained glass butterflies", so I thought I would share the lesson. It is very easy, and lots of fun! We made them three times because the girls loved them so much. I am pretty sure all the window in the house have at least one butterfly on them. This lesson could also easily be changed to fit any subject - cars, trains, etc.

Next, I took contact paper and cut it to approximately 12 X12, and then cut the outline of a butterfly out of construction paper to fit inside the frame of the contact paper (which I totally eyeballed), making sure to leave the sticky side up - this is where you will attach the tissue paper. I took a few sheets of whatever tissue paper I had lying around and cut it into small squares. Next, I had the girls put the tissue paper on the sticky side of the contact paper until all the space was filled. We talked about the different colors and counted how many pieces of paper were going on the butterfly and whether our butterflies looked like the butterfly in the story.
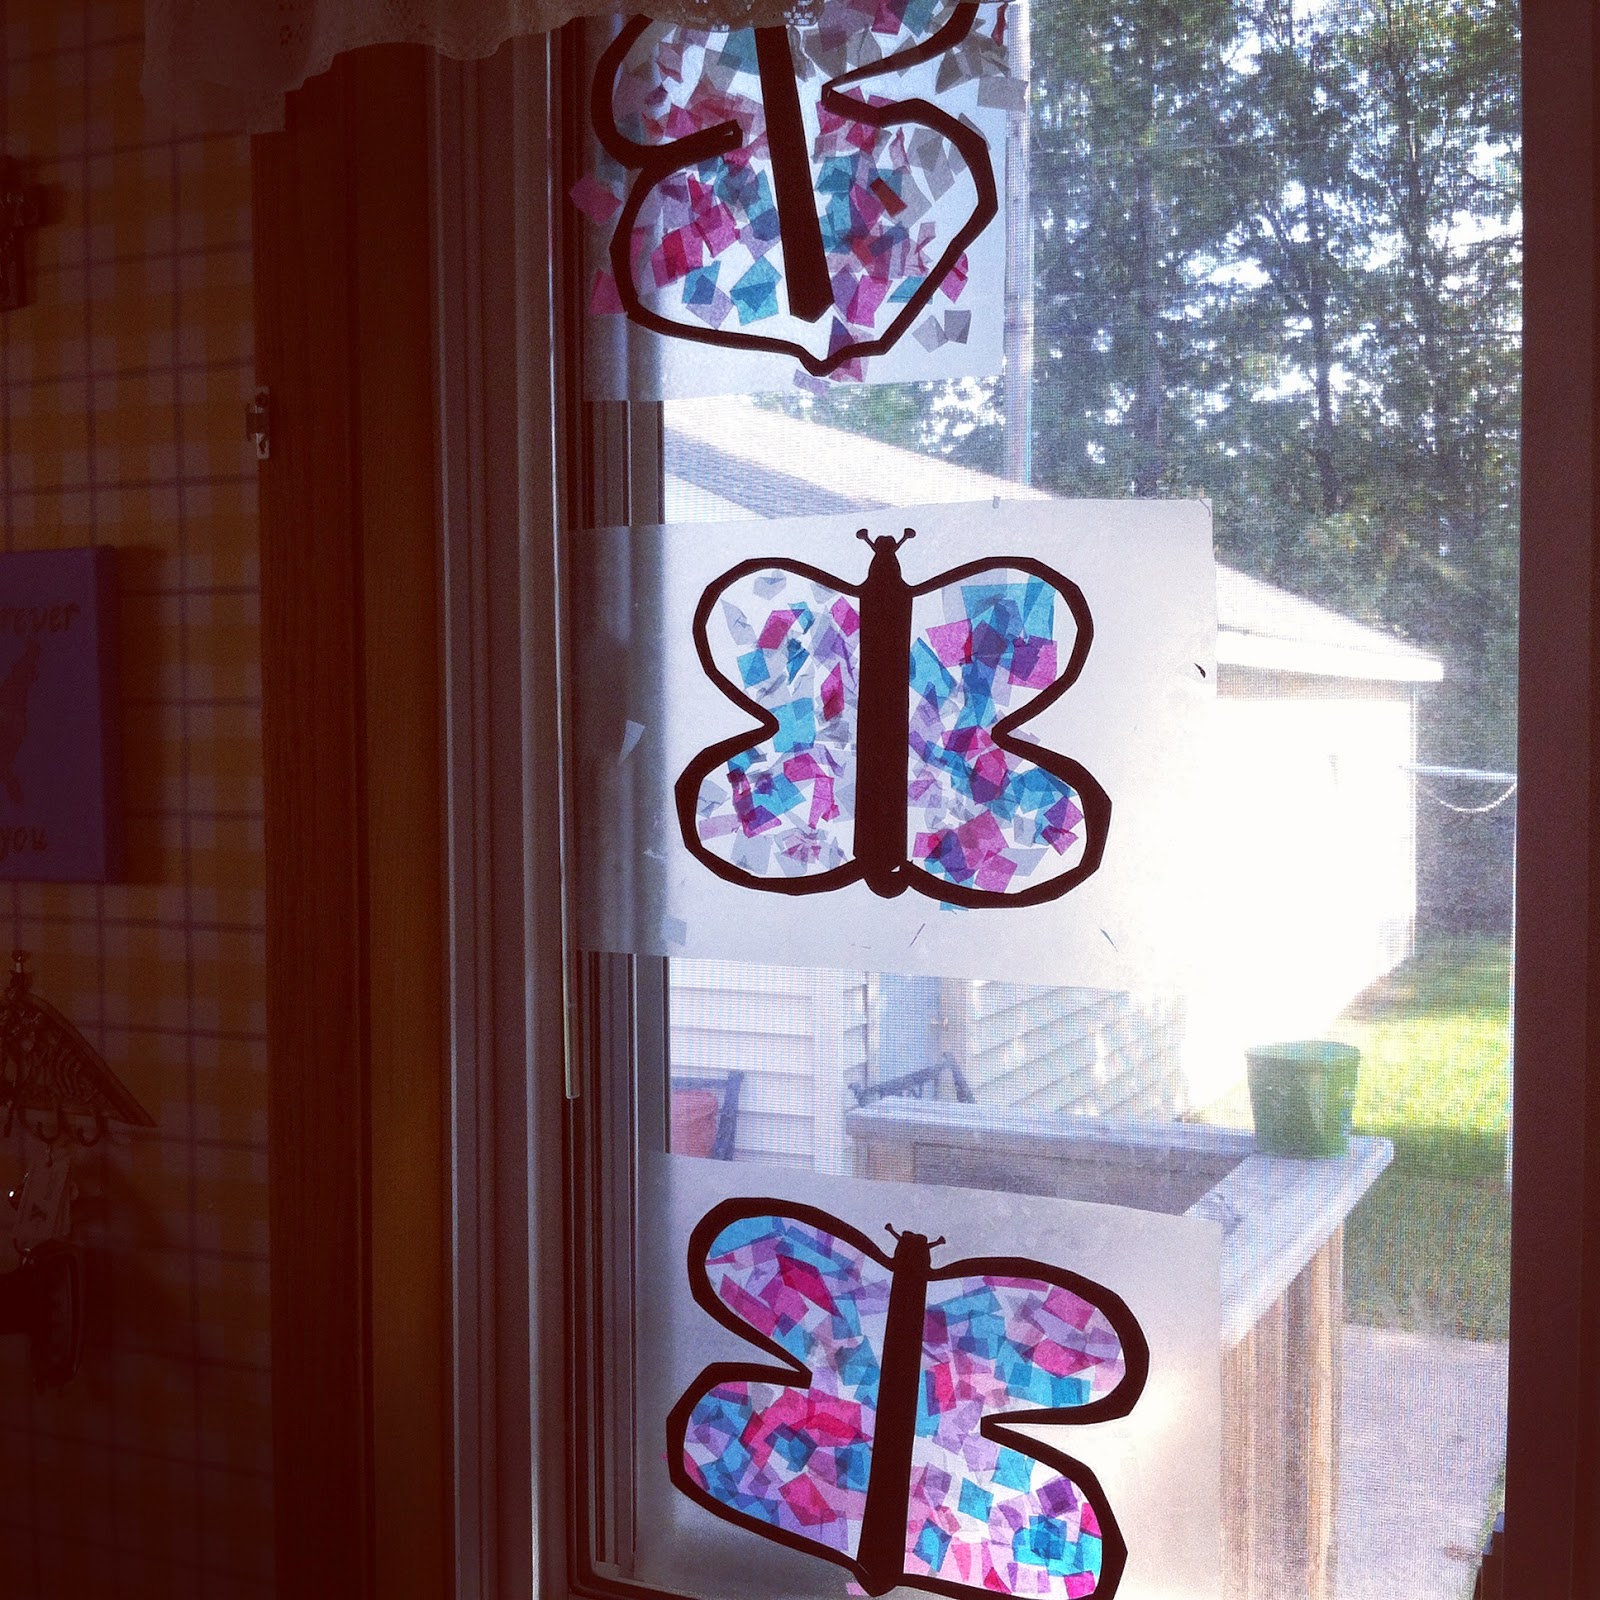
Then, I put them up on the window. Voila! When the light shines through, it looks like stained glass! So easy and fun with both kids!

Supplies: contact paper, tissue paper, scissors, and construction paper.
Skills: fine motor skills, color recognition, and counting
First we read the book Glasswings, A Butterfly's Story by Eliza Kleven. I rented it from our local library. It is about a glass winged butterfly who gets lost in a big city and helps the other animals to grow a garden.

Next, I took contact paper and cut it to approximately 12 X12, and then cut the outline of a butterfly out of construction paper to fit inside the frame of the contact paper (which I totally eyeballed), making sure to leave the sticky side up - this is where you will attach the tissue paper. I took a few sheets of whatever tissue paper I had lying around and cut it into small squares. Next, I had the girls put the tissue paper on the sticky side of the contact paper until all the space was filled. We talked about the different colors and counted how many pieces of paper were going on the butterfly and whether our butterflies looked like the butterfly in the story.
 |
| Amita was very diligent and tried to keep in within the outline of the butterfly |
 |
| Ashima, not so much, but that's okay. She loved the process! |
No comments:
Post a Comment